Hello World Tutorial
Here we provide a short tutorial on how to deploy a custom webserver in Kubernetes with kubectl. We shall use already existing example from hello-kubernetes but with a bit more explanation. This tutorial by far doesn't include everything that can be configured and done but rather provides first experience with Kubernetes.
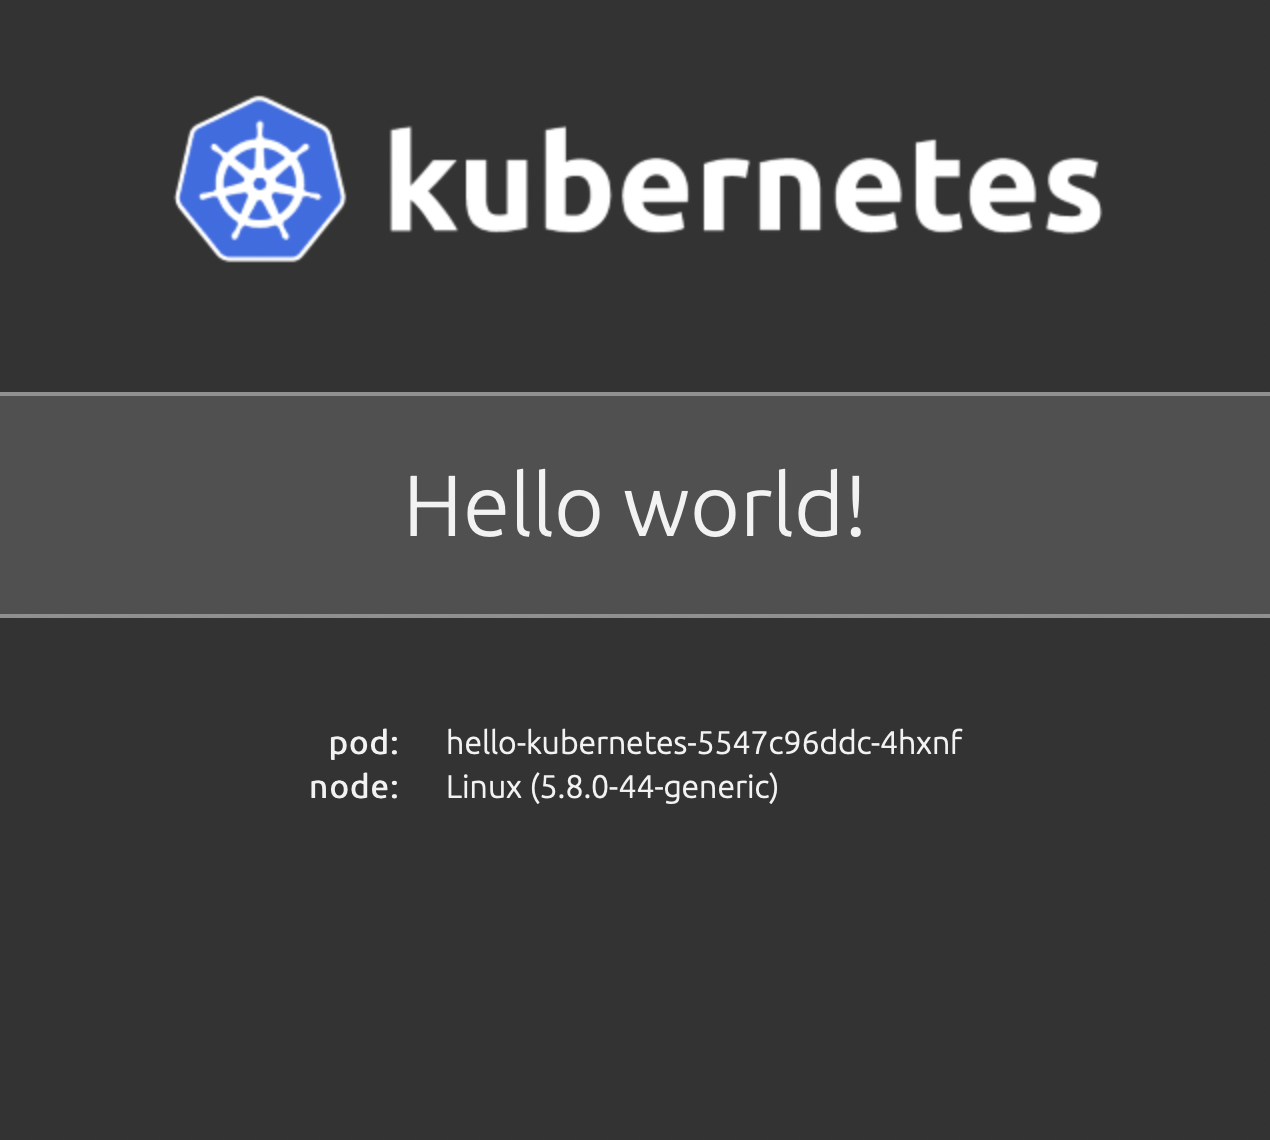
We are going to deploy a simple web that runs from Docker image and displays "Hello world" together with Pod name and node OS information.
Important
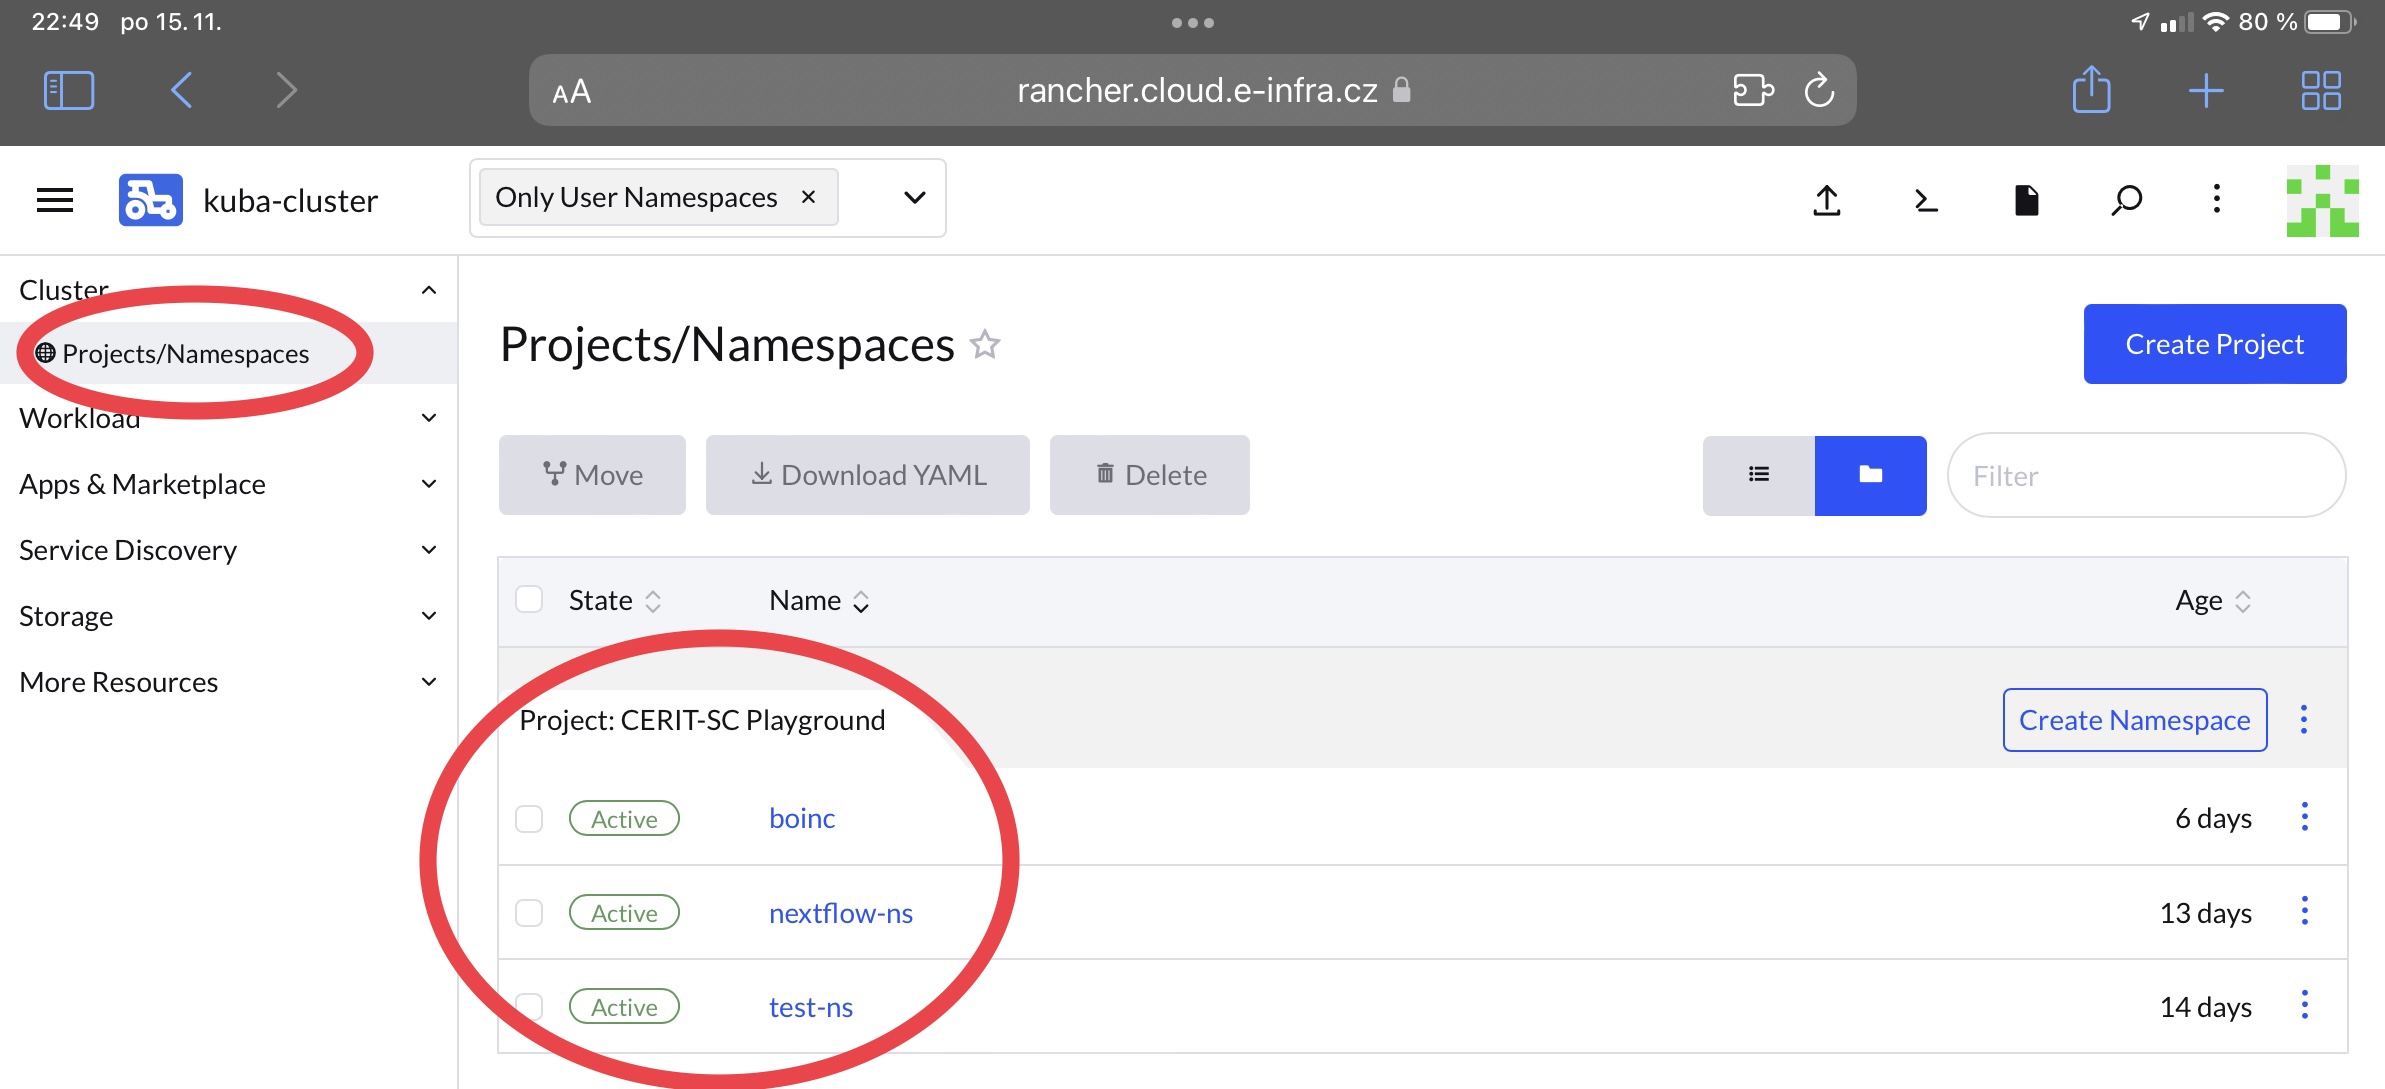
Unless agreed beforehand, for personal projects and experiments you can use kuba-cluster. Here, you have to work in your namespace and its name is derived from your last name with added -ns. However, names are not unique and therefore we recommend to check yours on Rancher in the drop-down menu in the upper left corner kuba-cluster and Project/Namespaces.
Create Files
We have to create at least 3 Kubernetes resources to deploy the app -- Deployment, Service, Ingress.
1. Deployment
Create new directory, e.g. hellok and inside, create new file deployment.yamlwith content:
apiVersion: apps/v1
kind: Deployment
metadata:
  name: hello-kubernetes
spec:
  replicas: 3
  selector:
    matchLabels:
      app: hello-kubernetes
  template:
    metadata:
      labels:
        app: hello-kubernetes
    spec:
      securityContext:
        runAsUser: 1000
      containers:
      - name: hello-kubernetes
        image: paulbouwer/hello-kubernetes:1.9
        ports:
        - containerPort: 8080
This example file is composed of fields:
- .metadata
- .name denotes deployment's name
- .spec
- .replicas denotes number of replicated Pods that will be created
- .selector field defines how the Deployment finds which Pods to manage. Here, a label defined in the Pod template is selected (app: hello-kubernetes), sophisticated selection rules are possible as long as the Pod template itself satisfies the rule
- .template
- .metadata.labels Pods are labeled here
- .spec Pod's template specification
- .containers array defining containers that will run. Each item has to have name, image
- .containers.securityContext defines under what user and optionally group, the container will run. IMPORTANT containers must be run under nonRoot user and group because of security. More in part about PodSecurityPolicy later
Complete reference docs for resources and their allowed fields and subfields is available online. Don't forget right indentation!
2. Service
Secondly, we have to create Service which is abstract way to expose an application as a network service.
apiVersion: v1
kind: Service
metadata:
  name: hello-kubernetes-svc
spec:
  type: ClusterIP
  ports:
  - name: hello-kubernetes-port
    port: 80
    targetPort: 8080
  selector:
    app: hello-kubernetes
Service object named "hello-kubernetes-svc", which targets TCP port 8080 on any Pod labeled app=hello-kubernetes.
A Service can map any incoming port to a targetPort. By default, the targetPort is set to the same value as the port field. Default protocol is TCP but other supported protocols can be used too (UDP, HTTP, SCTP, PROXY).
3. Ingress
Lastly, we have to create Ingress which exposes HTTP and HTTPS routes from outside world to the cluster world. Traffic is controled by rules set in the resource.
It is possible to expose your deployments in 2 ways but here we will use cluster LoadBalancer with creation of just new DNS name.
You can use whatever name you want but it has to fullfill 2 requirements:
- name is composed only from letters, numbers and '-'
- name ends with
.dyn.cloud.e-infra.cz
The name is filled in spec.rules.host and in spec.tls. Before you use any name, check in browser it doesn't already exist. After creation, it takes a minute to create new DNS entry so your app will not be available right away at specified name, wait one minute.
apiVersion: networking.k8s.io/v1
kind: Ingress
metadata:
  name: hello-kubernetes-ingress
  annotations:
    kubernetes.io/ingress.class: "nginx"
    kubernetes.io/tls-acme: "true"
    cert-manager.io/cluster-issuer: "letsencrypt-prod"
spec:
  tls:
    - hosts:
        - "test-hello.dyn.cloud.e-infra.cz"
      secretName: test-hello-dyn-clout-e-infra-cz-tls
  rules:
  - host: "test-hello.dyn.cloud.e-infra.cz"
    http:
      paths:
      - backend:
          service:
            name: hello-kubernetes-svc
            port:
              number: 80
        pathType: ImplementationSpecific
This example file is composed of fields:
.metadata.namedenotes name.annotationsingress frequently uses annotations to configure options depending on ingress controller. We usenginxcontroller and possible annotations are listed here. The ones used here are necessary for right functionality and they automatically create TLS ceritificate therefore you don't need to worry about HTTPS - it's provided automatically.specincludes all information needed to configure a LB but most importantly, includes rules matched against all incoming requests.tlsensures securingIngresshostshas to exactly match DNS name which will be usedsecretNamehas to match DNS name but all dots are substituted by '-' and -tls is added at the end
.rulesis the most important parthostis optional, if provided, rules apply to that hostpaths(for example,/testpath), each of which has an associated backend defined with aservice.nameand aservice.port.nameorservice.port.number.service.port.numberis the port which is exposed by the service therefore in service denoted asspec.ports.port, similarlyservice.ports.[i].nameis equivalent tospec.ports.[i].name. Path type can be specified, more about it here
4. Create
Now, create all resources with using whole directory as an argument and specify your namespace
kubectl apply -f hello-world -n [namespace]
deployment.apps/hello-kubernetes created
ingress.networking.k8s.io/hello-kubernetes-ingress created
service/hello-kubernetes-svc created
You can check status of deplyed resources with kubectl get pods/services/ingress -n [namespace] and when all of them are up and running, you can access the URL and you will be presented with sample page.
Further Customization
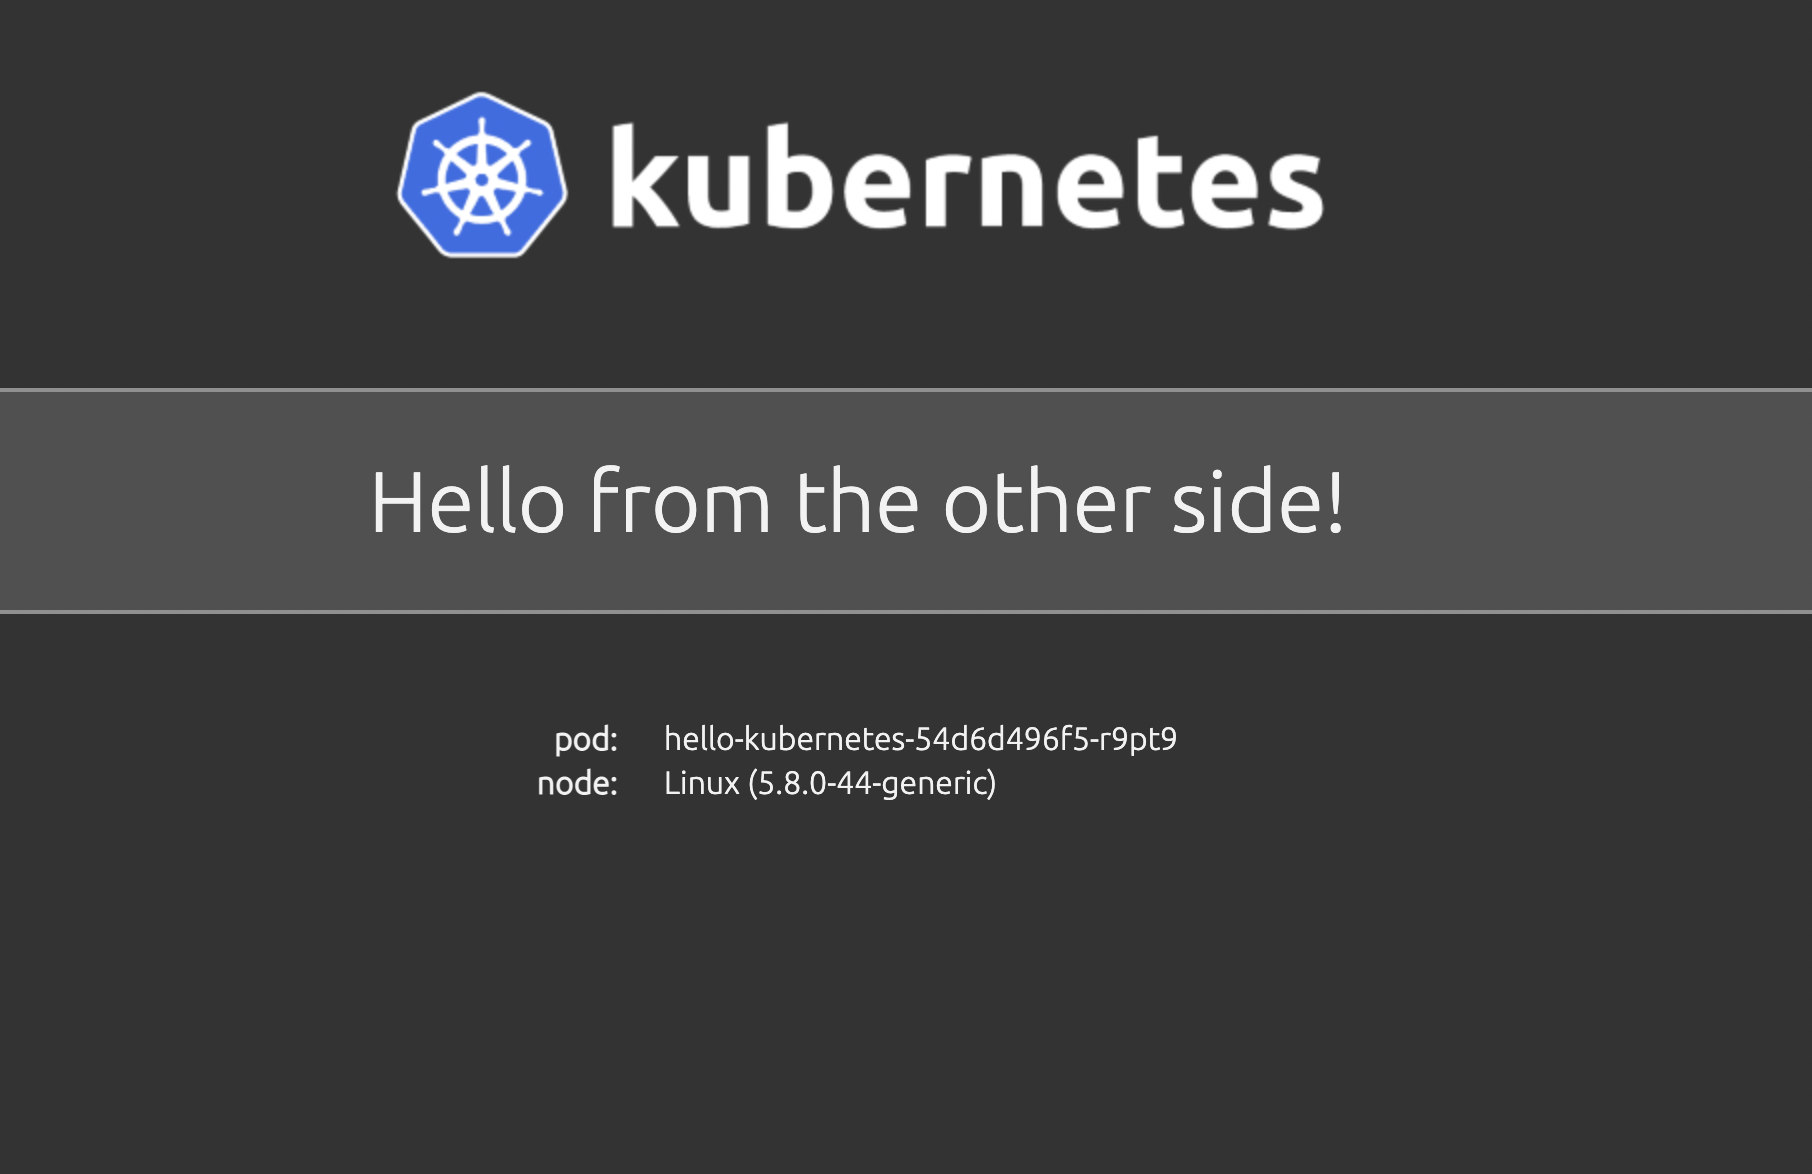
You can specify various fields in every resource's file, many of them not used here. One of more wanted features is passing environment variables into Deployments in case spawned containers need some. We will use one environment variable in our deployment to change displayed message. At the end, add new section env which will forward the value into the pod. Then, run again kubectl apply -f hello-world -n [namespace] to apply changes. When you access the website now, new message is displayed!
apiVersion: apps/v1
kind: Deployment
metadata:
  name: hello-kubernetes
spec:
  replicas: 3
  selector:
    matchLabels:
      app: hello-kubernetes
  template:
    metadata:
      labels:
        app: hello-kubernetes
    spec:
      securityContext:
        runAsUser: 1000
      containers:
      - name: hello-kubernetes
        image: paulbouwer/hello-kubernetes:1.9
        ports:
        - containerPort: 8080
        env:
        - name: MESSAGE
          value: Hello from the other side!
Other customization can include:
- creating a Secret (e.g. for password) and mounting it into the pod into the file
- creating a ConfigMap (e.g. for bigger configurations) and mounting into the pod
- creating a PersistentVolumeClaim (storage) from NFS (S3 #TODO) and mounting into the Pod
- creating resources of other types e.g. ReplicaSet, StatefulSet, DaemonSet
Creating PersistentVolumeClaim
If you need to use some persistent storage, you can demand a NFS volume and mount it in Deployment.
Example: create file claim.yaml with content
apiVersion: v1
kind: PersistentVolumeClaim
metadata:
  name: my-first-claim
spec:
  accessModes:
    - ReadWriteMany
  resources:
    requests:
      storage: 1Gi
  storageClassName: nfs-csi
The spec.resources.requests field has to be specified but doesn't really mean anything. Then perform kubectl apply -f claim.yaml -n [namespace]. You can check if everything went fine by running
kubectl get pvc -n [namespace]
NAME                                                               STATUS   VOLUME                                     CAPACITY   ACCESS MODES   STORAGECLASS   AGE
my-first-claim                                                    Bound    pvc-bcdcea2e-3019-409b-8b0f-18eb50d72c21   1Gi        RWX            csi-nfs        11d
The claim (and other mountable resources are done very similarly) is mounted into the Deployment in 2 steps:
- create field volumes under spec.template
- create field volumeMounts under spec.template.spec.containers[container_which_will_have_pvc_mounted]
A piece of relevant config. Volumes is a list of volumes to mount with at least name field and type of resource which will be mounted (here persistentVolumeClaim) together with its name (the one specified in PVC's metadata.name). volumeMounts mounts items from volumes in certain path inside container. In container, everything saved in path /work will persist and can be shared between multiple containers (one volume can be mount many times if its type is ReadWriteMany which NFS is)
spec:
  replicas: ...
  selector:
    matchLabels:
      ...
  template:
    metadata:
      labels:
        ...
    spec:
      containers:
        - name: flask-web
          image: alpine:3.8
          ports:
            - containerPort: 8888
          volumeMounts:
            - mountPath: /work
              name: shared-volume
      volumes:
      - name: shared-volume
        persistentVolumeClaim:
          claimName: my-first-claim
Pod Security Policy
For security reasons, not everything is allowed in kuba-cluster.
List of (dis)allowed actions:
- Allow Privilege Escalation: false
- Fs Group: must run as 1-65535
- User: must run as non root
- Supplemental groups: must run as 1-65535
- Volumes: can mount configMap, emptyDir, projected, secret, downwardAPI, persistentVolumeClaim
Any deployment that will attempt to run as root won't be created and will persist in state similar to (notice READY 0/3 and AVAILABLE 0, logs and describe would tell more)
NAME               READY   UP-TO-DATE   AVAILABLE   AGE
hello-kubernetes   0/3     3            0           7m8s
Kubectl Command
There are many useful kubectl commands that can be used to verify status of deployed resources or get information about them. To list some of the most handy:
- kubectl get [resource] provides basic information about resource e.g. if we query service, we can see IP address
 kubectl get service hello-kubernetes-svc -n [namespace]
NAME                   TYPE           CLUSTER-IP      EXTERNAL-IP       PORT(S)        AGE
hello-kubernetes-svc   LoadBalancer   10.43.124.251   147.251.253.243   80:31334/TCP   3h23m
kubectl describe [resource]offers detailed information about resource (output is heavily trimmed)
kubectl describe pod hello-kubernetes -n test-ns
Name:         hello-kubernetes-5547c96ddc-4hxnf
Namespace:    test-ns
Priority:     0
Node:         kub-a10.priv.cerit-sc.cz/10.16.62.19
Start Time:   Tue, 23 Mar 2021 15:22:57 +0100
Labels:       app=hello-kubernetes
              pod-template-hash=5547c96ddc
Annotations:  cni.projectcalico.org/podIP: 10.42.2.25/32
              cni.projectcalico.org/podIPs: 10.42.2.25/32
              kubernetes.io/psp: global-restricted-psp
Status:       Running
IP:           10.42.2.25
IPs:
  IP:           10.42.2.25
Controlled By:  ReplicaSet/hello-kubernetes-5547c96ddc
...
kubectl get pods -n [namespace] + kubectl logs [pod_name] -n [namespace] shows pod's logs if they were configured or any output occured. This combination is very useful for debugging.
kubectl get pods -n test-ns --context kuba-cluster
NAME READY STATUS RESTARTS AGE
hello-kubernetes-5547c96ddc-4hxnf 1/1 Running 0 3h19m
hello-kubernetes-5547c96ddc-856pp 1/1 Running 0 3h19m
hello-kubernetes-5547c96ddc-9dtxp 1/1 Running 0 3h19m
astralmiau@vega ~/work/test-psp kubectl logs hello-kubernetes-5547c96ddc-4hxnf -n test-ns
> hello-kubernetes@1.9.0 start /usr/src/app
> node server.js
Listening on: http://hello-kubernetes-5547c96ddc-4hxnf:8080
::ffff:10.42.3.0 - - [23/Mar/2021:14:24:06 +0000] "GET / HTTP/1.1" 200 650 "-" "Mozilla/5.0 (Macintosh; Intel Mac OS X 10_15_6) AppleWebKit/605.1.15 (KHTML, like Gecko) Version/14.0.3 Safari/605.1.15"
More combinations can be found in extensive kubectl cheat sheet